Less Stress Travel Prep

231cd1e3-98b0-4902-89b0-3ad9c750fab3.jpeg

Real talk: I’ve had a hard time adjusting to being a transplant in a state across the country from my home sweet home. Luckily for me, we’ve had many opportunities to fly back East in the past 7 years. Now that we have two kids to tow around and two dogs to find care for while we’re gone, we don’t exactly “hop” on a plane anymore. It’s more like tripping over our own feet the whole way until we’re comfortably seated in my Dad’s car at PHL.

Despite the craziness, it’s hard for us to turn down a wedding invite, a big birthday bash, or a holiday visit. So that means we have to make it work!

I’ll save the “how to get through the airport” for another post because today I want to share some tips on how to prepare yourself for any trip. Whether it’s a weekend staycation, or a month long trek, I think you can take away some helpful information from this post.

2-3 days before travel:Dump every hamper into the wash. The liklihood of you loving something in your hamper is pretty high so get it washed and dried in time. 
*Give yourself extra time to hang dry any favorite delicates like your comfy Lulu’s you can’t get on an airplane without.

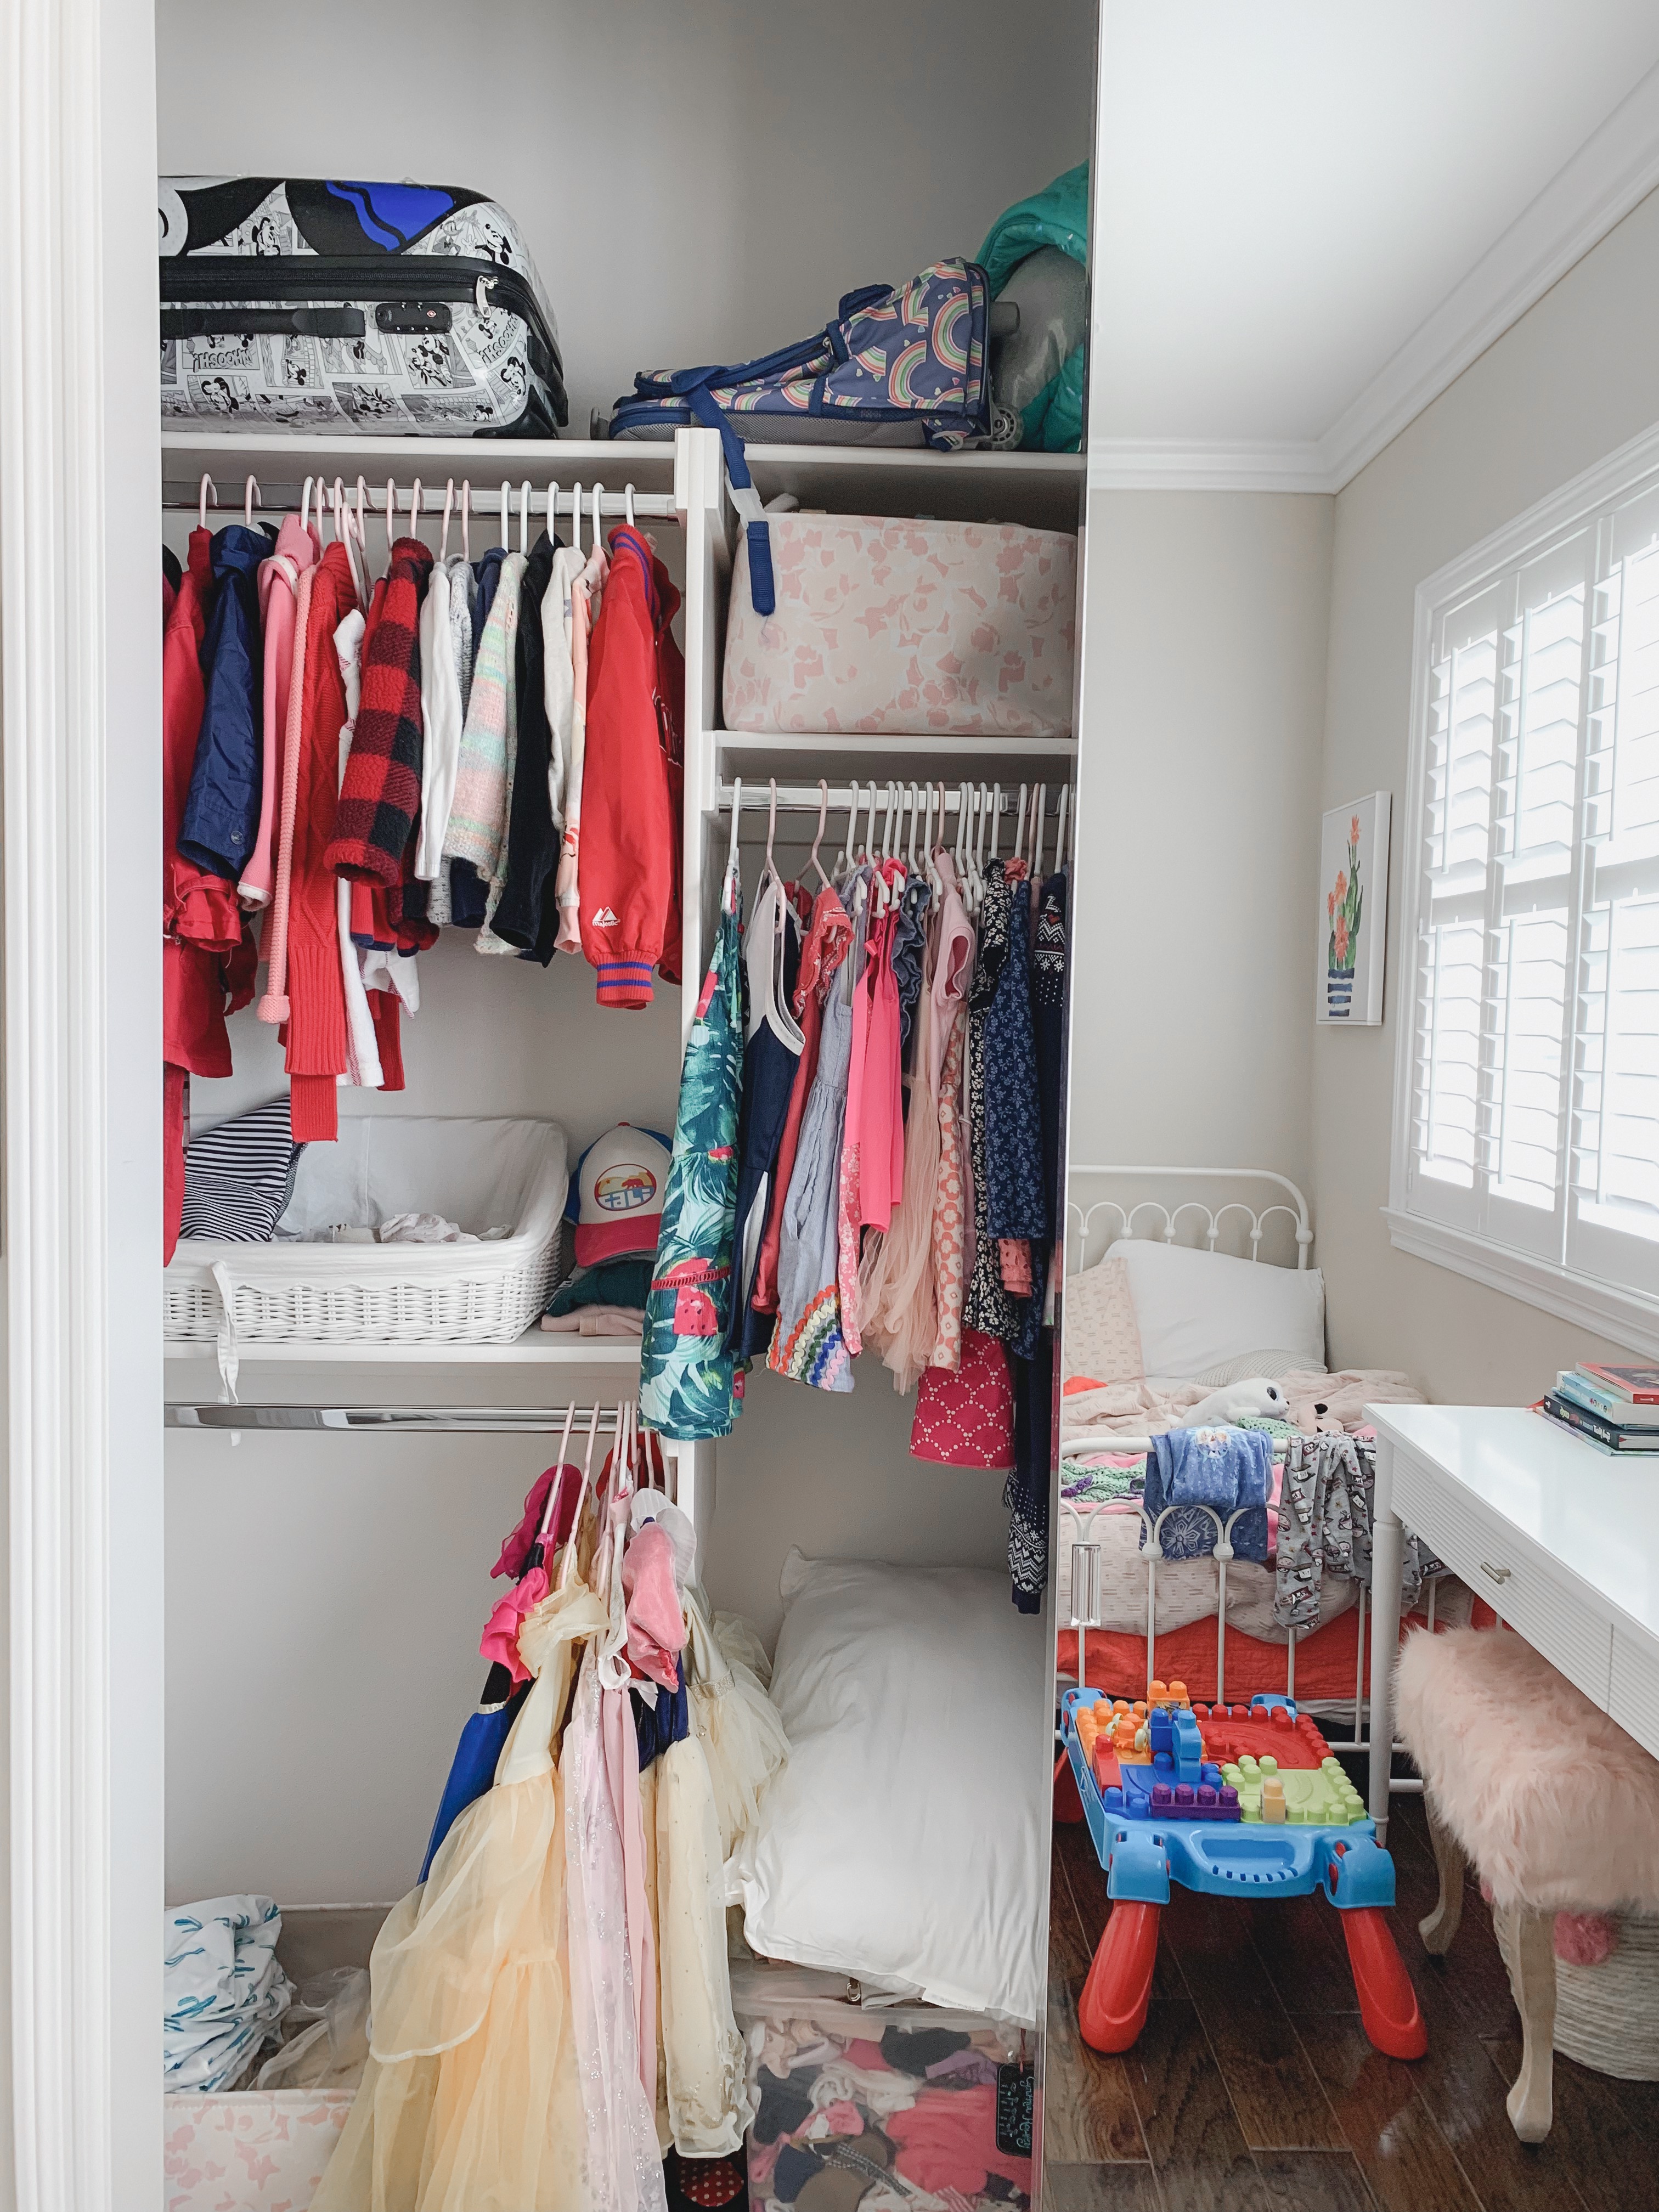
1-2 days before travel:Tackle the stack. Start with the youngest traveler (if their clothes are significantly smaller) so you can budget room for the rest of your stuff. 
Yes, if there’s extra room in my bag after every one is packed, I tend to add an extra pair of shoes I don’t NEED but would love to have with me.
*Put outfits together and select pieces that are easy to mix & match.
When you get each family member’s stack of clothes figured out, put them all in a central location. This usually ends up on our bed since all packing is done in our room.

1-2 days before travel: Take out those packing cubes! The jury is still out on these for some people but I’ve been using ours for every vacation since I bought them about 5 years ago and they’re a lifesaver. It alleviates a lot of the packing stress when trying to fit clothes for 4 people in one suitcase. After doing a bit of research for my blog readers, I discovered there’s a difference between compression cubes and packing cubes so if you’re looking to stay organized, there are A TON of options. Ours are not technically compression cubes but they do an amazing job so I’ll link them here.

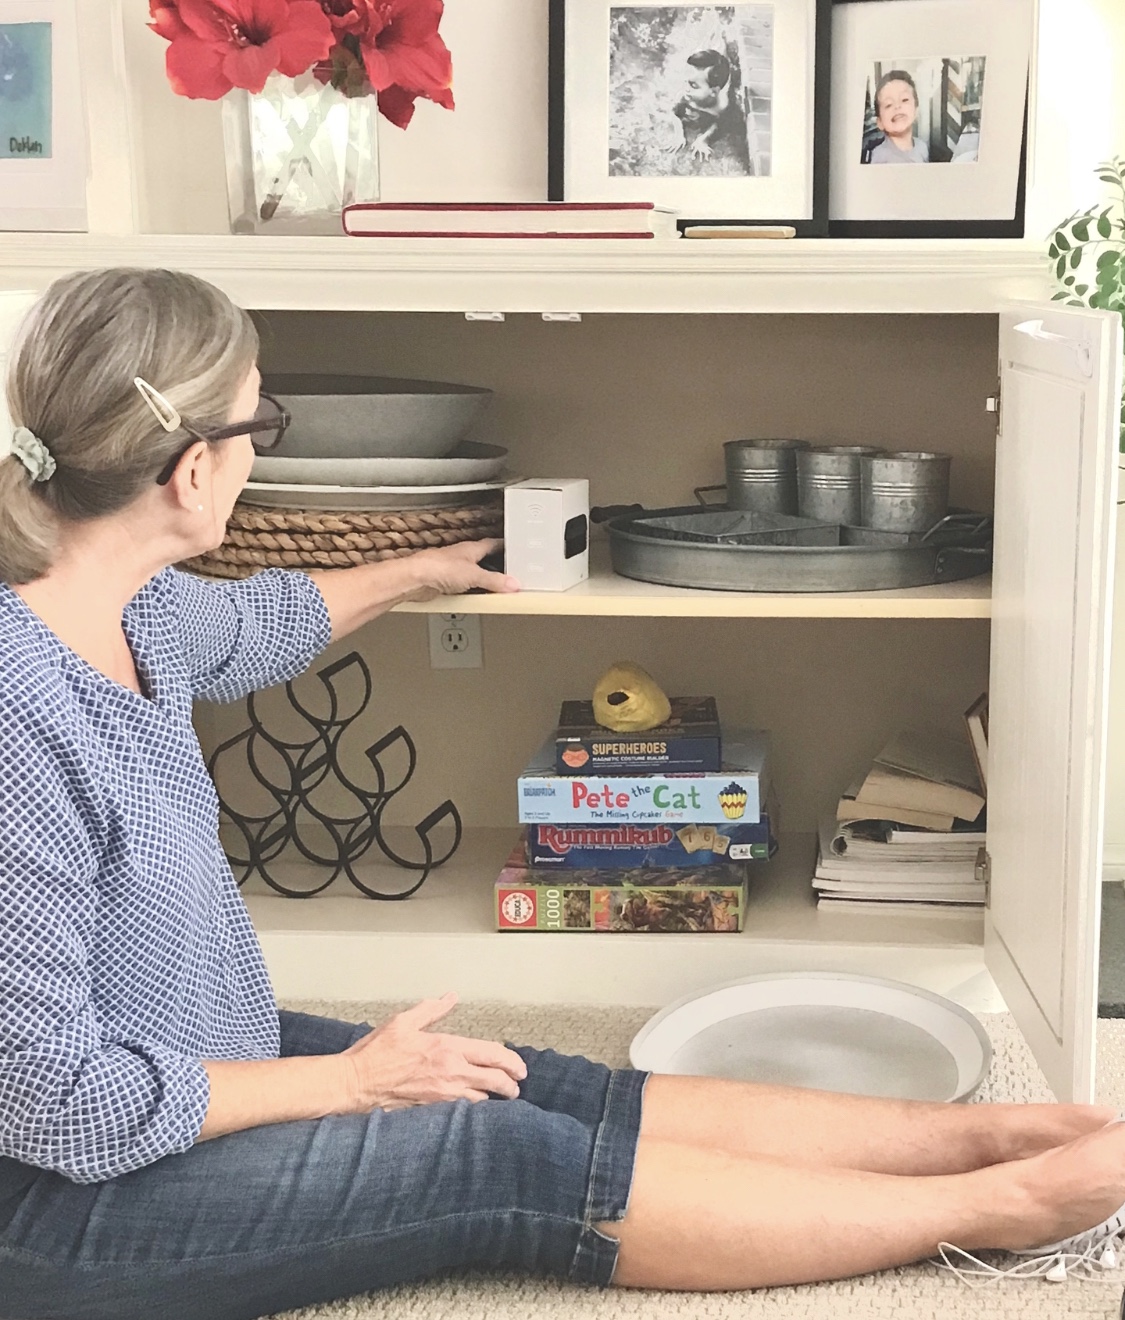
0-1 day before travel: Pack toiletries. Do you have any travel size goodies? I try not to hoard these but they’re frequently given as stocking stuffers and my husband takes them from E.V.E.R.Y hotel he stays in. This drives this clutter free blogger nuts but I try my best to go through them before buying anything from the dollar bin at Target. I’ll give you a sneak peek on how I organize those when I get home.

If you have travel size of all essentials, then no need to do this day-of but I bring a few full-sized items that I use every morning and I don’t like starting my day with a little bit of make-up so this goes in my luggage last. I’m talking husband-yelling-at-me-that-we-have-to-go last.

Travel day: Close up your suitcase and weigh it. We don’t have a handheld suitcase scale but our digital floor one does a good job at keeping us below the limit. I’m not sure a handheld one is a must-have and I don’t have any good tricks for storing this rarely used gadget. Unless you have a habit of over-packing or you’re known to travel with Persian Rugs in your bag (ok, that’s me sometimes), don’t buy a luggage scale.

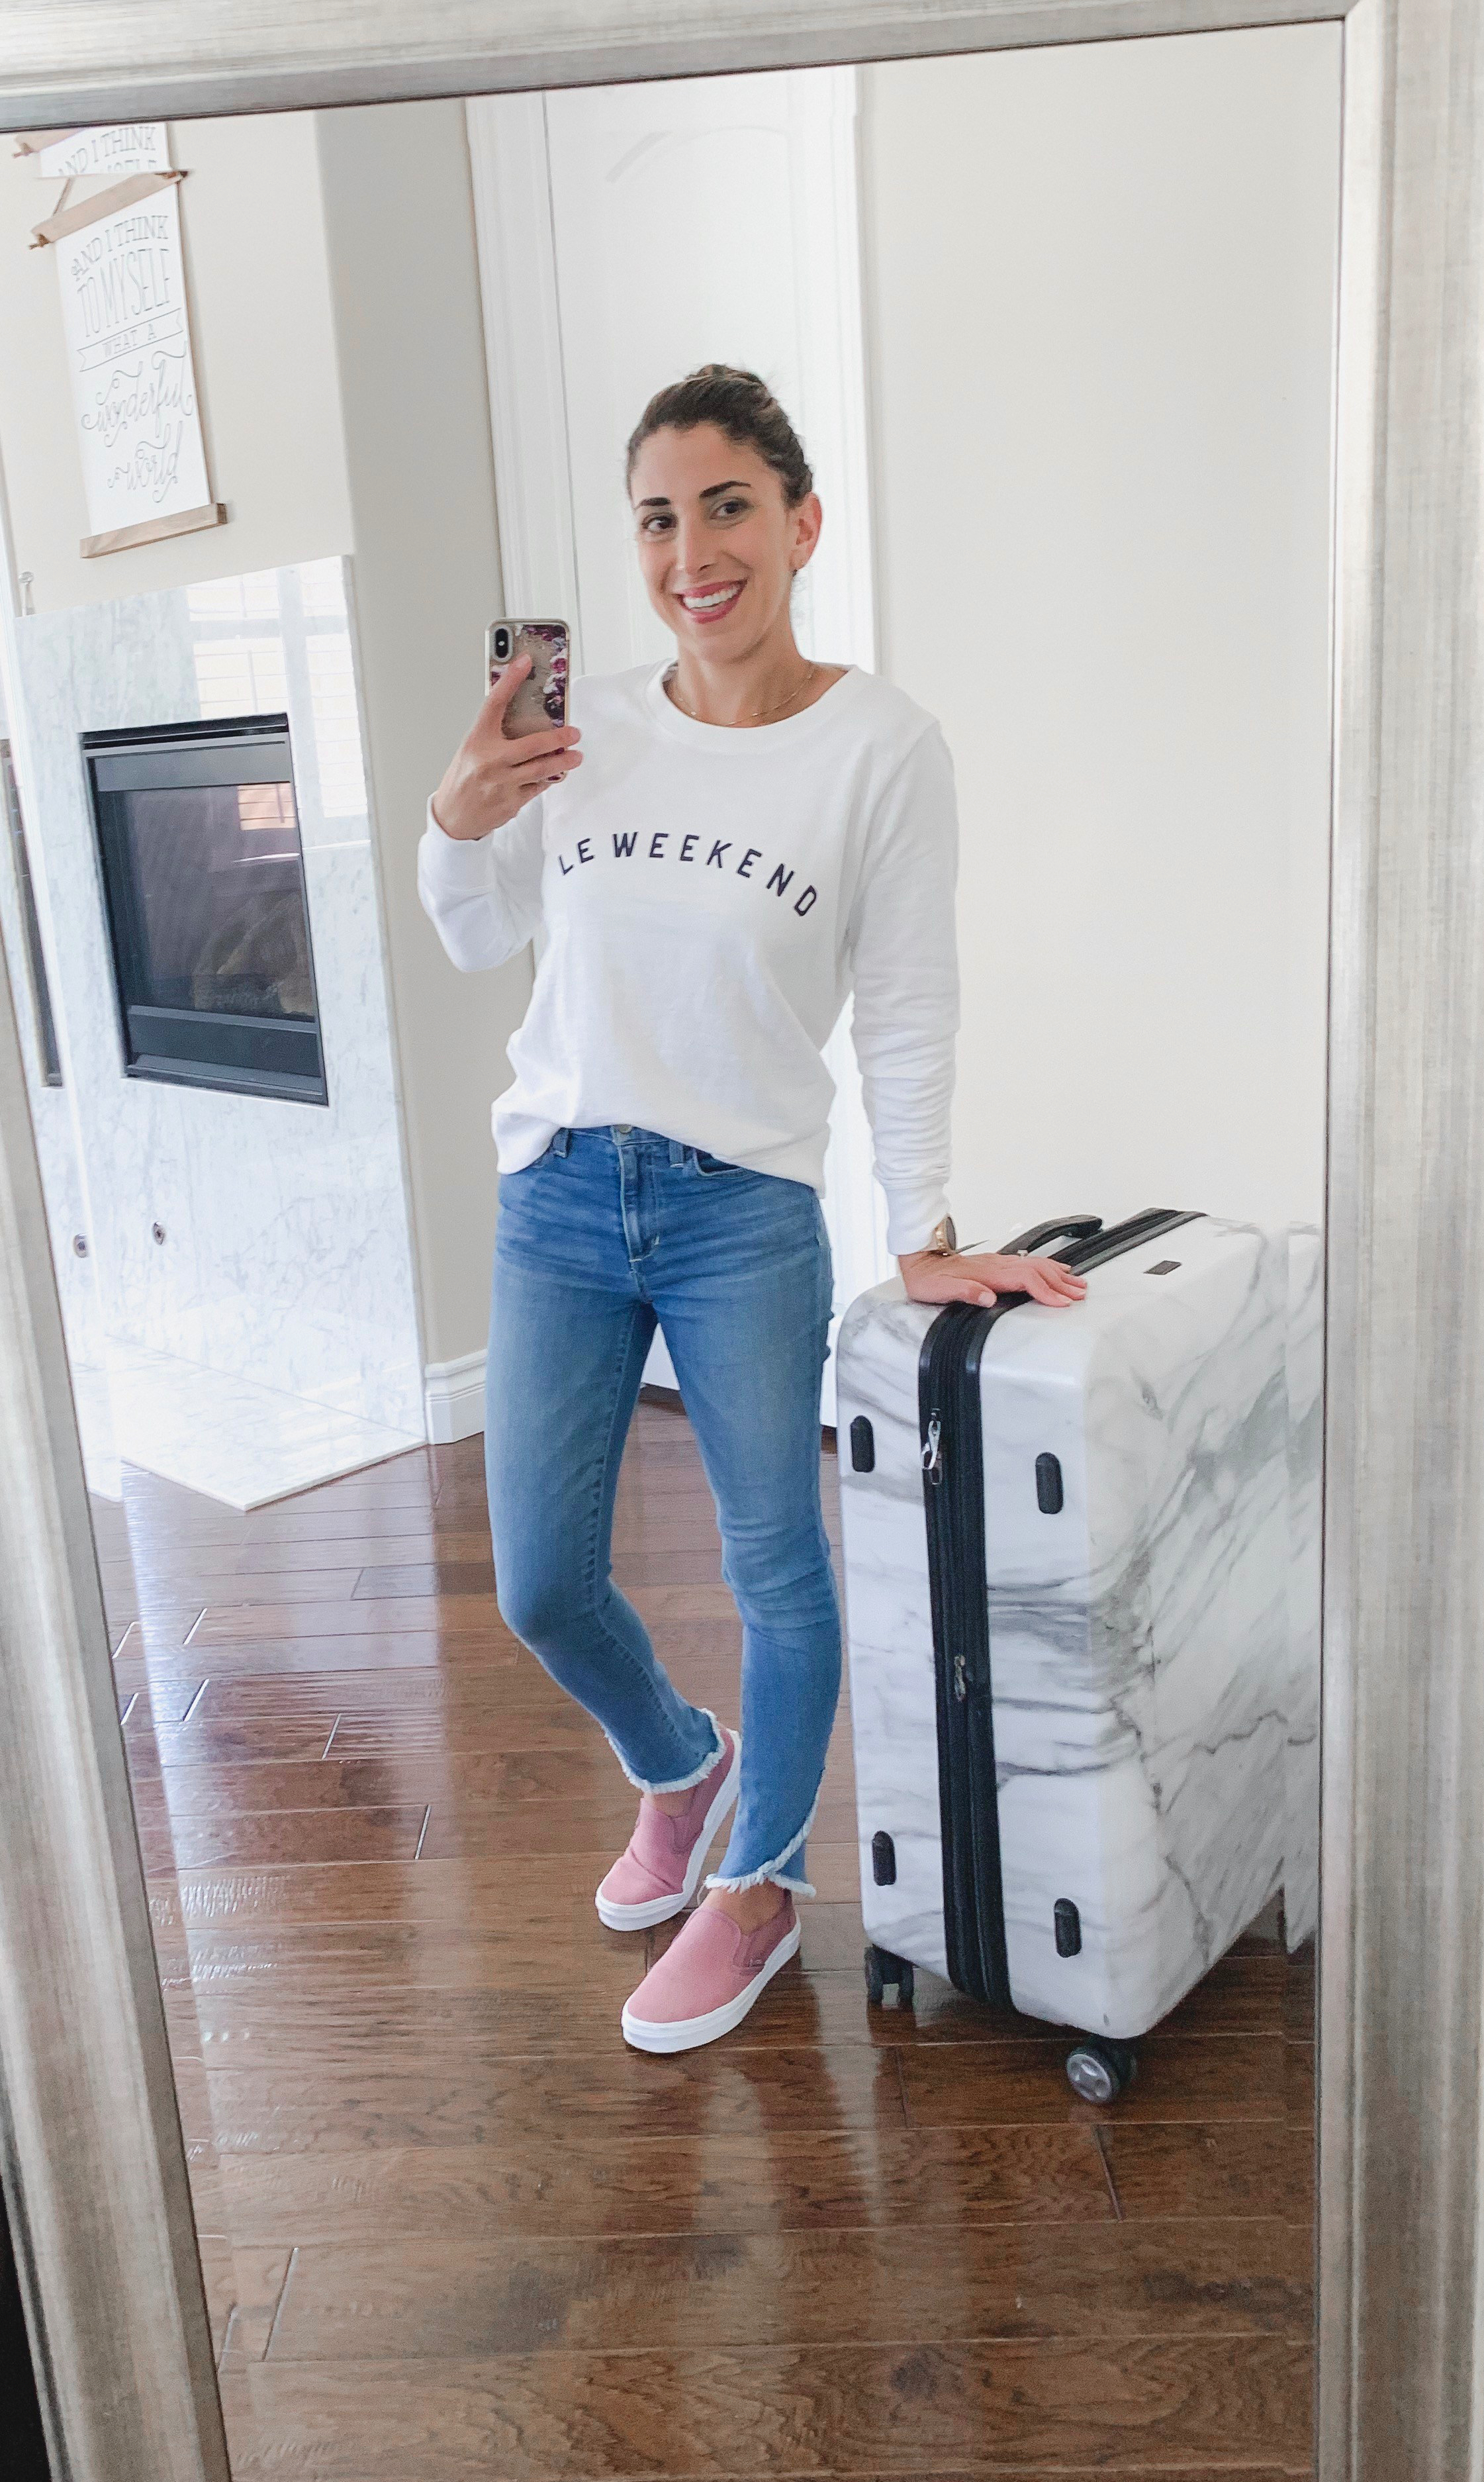
*Our go-to bag used to weigh 17lbs! What a joke!! I donated that bag to someone who needed it for non-airplane travel and put this Calpak set on my Christmas wishlist. Ok fine, I ended up buying it for myself… At only 10.3lbs for the 30″ bag, they are so lightweight and simple and the design is so cute, I just had to have them!

So, I haven’t always been a stay at home mom (should those words be capitalized? Insert thinking face emoji here) but it is nice to be able to do laundry and pack while I work from home and there are still quite a few obstacles that come my way. Did this above “schedule” work out for you? Please let me know in the comments if you have any questions on my routine or have any ideas that have worked for you!

Deep Freezers the Right Way

Since I’ve started this blog, I’ve had a few good friend’s reaching out to pick my brain or even suggest future posts they’d like to see. Well, I LOVE that! It gets me excited for my next move in this venture.

The other day, my dear friend sent me a text requesting fridge organization tips. She has a deep fridge which can lead to wasted food since your it all just ends up mixed together with no order. She has just welcomed her second baby into their family and she’s working hard to stock up the freezer for her return to work. The bags were piling up and unfortunately forgot to do the lay flat while freezing trick so the bags were bottom heavy and taking up too much room. Her exact text to me was “it gives me anxiety and I feel like there’s gotta be a better way”.

There definitely was a better way so let’s get into it…

Luckily for her, I was returning some items at Ikea and found the perfect deep freezer tool! I found these lidded bins (picture below is a link to item) that would be great for stacking in her drawer. They keep her milk sorted by month and it’s ok that the bags aren’t all flat because she doesn’t need to see it when she opens the drawer. Only when it comes time for her little one to go through them. They come in multiple sizes so I’m sure you can find one that works for your dimensions. I stacked two of the larger ones in her freezer to store her milk.

Sockerbit Lidded Box from Ikea

As always, don’t forget to check out my Instagram page here for more motivation on how I used these Ikea bins to create a satisfyingly organized freezer drawer!

Stop Calling it Junk!

In an effort to give more purpose to the storge in your home, lets work together on eliminating the “junk spaces” in your home!

In all seriousness (and I’m hoping you can relate), I don’t only have one drawer dedicated to random finds… For example I opened our game night cabinet the other day to find a GRAVY BOAT in next to my puzzles, next to a pile of cookbooks, next to some deflated balloons. I have an entire cabinet dedicated to serving dishes and a bookshelf fit for those books but for some reason, I crammed them all in one teeny space. I’ve always had an eye for practical organization but we all take off sometimes so I’m not going to beat myself up about it. Recently I’ve been looking at these spaces and wondering if I can come up with a list of ways to keep them from turning into junk spaces again. Then it dawned on me that we don’t need a list.. we just need to remember to: CREATE PURPOSE!

Ok just kidding, this blog post would be boring if we didn’t have a list so let’s do the following:

  1. Think of where in the home the space is and whether you can categorize by the most common item found in that space.
  2. Take the basic rules of organization and empty, sort & TOSS. Does every pen in your drawer work?? Now’s the time to check and toss. Also, maybe you don’t need 20 black pens? Unless you’re a caligrapher, chances are you don’t… so TOSS!
  3. Create a new home for the loose items you find in the space. Can your batteries be moved to a utility closet? Is there a paperclip that can be put back in the office? Why is your gravy boat next to your puzzles? All questions I’ve asked myself in the past week.
A junk drawer turned stationary drawer

I didn’t start writing this post to tell you how to organize your junk drawer but to, better yet, eliminate it!

Doing so will help you take better care of your belongings. No more crumpled bills you forgot to pay. No more expired bottles of tylenol taking up space in a drawer… It’ll also alleviate some of the anxiety of not knowing where to find those things. If you open a cabinet or a drawer and it immediately gives you a headache, please do yourself a favor and empty it out now.

What’s your most recent junk clean out and what did you turn that space into? Leave a comment below!

If you need some good drawer organizers, click here.

Green Home Without the Green Thumb

I have always loved the color green. There’s something special about every shade. From emerald to mint and everything in between, your space can really pop with a hint of the color. For an added bonus of oxygen and purifying benefits, create that pop with a live plant! Your home will look so much more put together and complete with a plant in a pretty pot or basket.

You don’t need to be a green thumb or have all of the time in the world to care for some of the most beautiful house plants and I’d like to challenge you today to go to that local nursery you’ve been eyeing up and treat yourself! Before you do that, check out my list of favorite resilient houseplants below. Thanks for reading. Comment below with easy care tips or to let me know what your favorite resilient houseplant is!

THE DUMB CANE

Diffenbachia – aka Dumb cane

I bought this pretty plant at a Home Depot as an impulse buy and boy am I happy I did. Plant it in a moisture retaining soil and water with a couple of ounces just once a week and you’ll have a quickly growing plant. Please note that it was easily 1 foot shorter when I first bought this and grows in both in filtered sun and darker spaces (though growth will be slower).

THE UMBRELLA TREE

Shefflera – aka Umbrella Tree

I snagged this beaut almost 2 years ago at a pop-up shop for a very talented designer, LA plant girl. Check out her instagram, she has the most beautiful selection of curated pots and plants of every variety. This plant did take a bit to make happy. I had it in my son’s room and, unfortunately, not much light gets in there so it was wilting and looking sad. Once I moved it to a spot with filtered light, it came back to life. It hasn’t grown since I bought it but I’m ok with that because it fits my space. I’ve only been giving it a shot of water once a week. EASY!

THE CHINESE EVERGREEN

Agalaonemas – aka Chinese Evergreen

Local nursery find! This one was sitting a dark corner of our local nursery so I knew I had to have it. I actually ended up putting it on my nightstand (what a nice thing to wake up to) which obviously gets a lot of sun (see pic). It’s FLOURISHING! And it makes me smile every day. I just noticed a bloom on it today too and I was definitely not expecting any flowers from it! Honestly, it is in the same plastic pot & soil I first bought it in and I water it every few days with the small amount of leftover drinking water I keep beside my bed. See, EASY!

THE ELEPHANT EAR

Caladium – aka Elephant Ear

This plant came into our home already pre-planted in a pretty pot I bought from my favorite home store – Kate Lester Home. I moved it into this terracotta pot because it went with my daughter’s decor better and the original pot has a much better home now in our loft anyway. Since her room is full of sun all year round, I have to water it more frequently but it doesn’t take much to keep it healthy. It can survive in shady areas so go pick one up if you have a darker room that needs a beautiful pink/green plant!

THE DEVIL’S IVY

Epipremnum Aureum — aka Devil’s Ivy

How can you go wrong with a plant by this name? Why they gave it this name should really get you excited. Named because it is almost impossible to kill and stays green even when in dark spaces. I’m very seriously considering moving it to my powder room (with no windows) so I’ll update you on it’s reslience later. BONUS – it is drought tolerant and very easy to propegate so you can add more to your home!!

THE ALOE PLANT

Aloe Vera

Last but definitely not least is the Aloe plant. June picked the above one out herself and I found the perfect home for it on her bookshelf. I water it probably once a month and it not only stays alive, but is growing beautifully in the little amount of soil it has! It’s such a funky little addition to her bright room and I’m definitely adding more to our home very soon.

Clear Out/Clean Out

Today’s project was pretty simple and straightforward and I just had to share my success with you! My client was a (my) very independent 3 year old. She needed to be able to reach her every day essential articles of clothing and I needed to get rid of a lot of the junk I was hoarding since she was born. Head over to my instagram page @easily_organized to check out my closet organization highlights to see the progress report!

Lets start with my tip of the day…

Tip 12: Start decluttering by completely emptying and cleaning out the space. I threw every single thing out of the closet. Sure, it may have made the bedroom look extremely scary and the project kind of daunting but I find it’s good to get a glimpse of everything that’s taking up space in there. Also, when you do this, it’s so much easier to get a good deep clean. So grab your swiffer and collect all the dust! Just so you know, I didn’t throw everything onto the floor without order… I kept the dresses together, the shoes in a pile…etc. I’m not totally crazy.

Tip 13: Frequently re-evaluate the items in your closets/cabinets. I only found about 3 or 4 articles of clothing that didn’t fit June anymore because of how often I purge. Donate anything you don’t use. This may seem cliché but I’ll add a slight spin and recommend you let others borrow these items until you may need them again. Maybe make an arrangement with a friend that you’ll pass on your child’s clothes if they promise to do the same when/if you decide to have another one. Stop holding onto things you do not need! Fine… I may not be as sentimental as most people but I really enjoy knowing someone else is making good use of something we used to love.

Tip 14: Categorize the pieces in your space. If it’s clothes then sort by season first and then by color. Closets like this with a lot of hanging space can accomodate for holding your seasonal gear year-round. I had previously kept the sweaters all together when, in fact, a few sweaters were only for winter weather or snow and most were meant for SOCAL mild weather. Now I have snow gear and cold weather items together and out of the way since we hardly use them.

Tip 15: Maximize the use of your current storage baskets. I was so proud of the fact that I didn’t have to go shopping to create this look! It really just took me dumping out the baskets I had and finding a proper home for everything in them. For example, I had bathing suits jammed into a basket when they should have been easier to find since we use them all year. Now, the basket on that shelf holds goggles, small pool toys, and her floatie. I strongly believe in a common sense organization method. You don’t need to add every bin or basket to a space to make it easier to navigate. Make sure you’re using the bins you currently have before buying any new ones! That might just create new clutter.

Check out the before photo below! What a simple yet pleasing transformation! What do you think?

Daily Rituals

Raise you’re hand if you have a roommate? Yes, I’m including children and spouses in the equation. Well, those roommates might not be on board with your resolution to keep the household organized. Try to get them on board with the below list of easy to perform daily rituals!

  • Make Bed – It is so nice to walk through a house full of made beds. If you have young children, get them used to the idea by encouraging them to at least put the pillows back at the head of the bed and arranging their stuffed animals in a fun way.
  • Empty Clean Dishwasher/Dishrack: It makes life so much easier when you can put dirty dishes in the dishwasher without wondering if there are clean dishes in there. Also, how are you supposed to keep the sink clutter free if there’s a bunch of dishes in the dishrack?? Just do it! It only takes 5 minutes out of your morning.
  • Plan Dinner – Make sure you have something defrosted or maybe even something ready to throw in a crockpot. I’ve linked my favorite one for you here. You can even brown meat in it before you set it to slow cook! If you take the time to plan dinner, you can make sure you have the ingredients you need ahead of time.
  • Pack Lunch From Leftovers – After you’re finished eating, assess the leftovers you have and see if you can make a creative lunch for your next day. I wish I could get motivated to meal prep but I feel like this is a more exciting way to change up your daily meals and it’s so much easier! Just take the protein you ate for dinner and throw it in with some salad or veggies and rice and you’ve got a tasty meal! Chris bought these containers and I made fun of him at first but we get so much use out of them.
  • Wash Dishes/Run Dishwasher – My last Instagram post was all about keeping a clean kitchen. No one wants to wake up to smelly food in the sink that can also leave unsightly stains!
  • Put Dirty Clothes in the Hamper – Either that or hang up the clothes you wore that day that didn’t get stinky. Don’t just throw your jeans on the closest armchair, find its home so it’s easy to get ready the next day.
  • Lay out Clothes – I’m not a morning person so when I was rushing to get to work or the gym early in the morning, it was so nice to already have everything ready to go. Do it the night before so you don’t start off your day feeling rushed.

Playroom Finds

Click on image to Pin!

My home decor is mostly neutral so I wanted to create a space for my children to play that was full of color and fun. Luckily for us, our home has a large closet under the stairs that I immediately had a plan for!

My Aunt set up a playroom very similar when we were younger. It was a cozy space with a play kitchen in it. I recreated it with my own colorful spin!

Below are a few items I have either purchased or have been gifted and greatly enjoyed by my children. Clockwise from top:

  • My rug is a vintage heirloom from Iran but this Navajo Diamond Southwestern Area Rug is just as colorful and so much fun!
  • These fruits and veggies can be used in neutral playrooms as well because of the cute bins they come in. Great for sorting exercises!
  • Instruments like this are easy to mount on the wall with velcro command strips!
  • Ikea has some great Montessori themed play toys. This kitchen is no exception and very reasonably priced!
  • We bought this booster seat for my son to eat snacks in while I did housework but we used it for so much more! In fact, it’s currently strapped to our dining chair because he’s still using it at 18 months old.
  • When June was a baby, she would play with every nesting doll-type toy she could find. This was a gift from my brother and I’m happy to say my son is now playing with is 2 years after we got it! Great activity for them.
  • The letters I used are unfortunately sold out but I found a very close match!

This post contains affiliate links. At no cost to you, I may receive commission if you make a purchase.

Enlist Help

About a month ago, a friend sent me a picture of her mom organizing her cabinet with the caption “You’re going to be so proud”. She herself is the mother of a 3 year old and a (now) one month old and I promised I would come over any time to organize the MANY toys they’ve accumulated over the years. Her mom beat me to the punch. Mind you, her house is super neat! It looks straight from a magazine. The only issue was keeping the storage bins and baskets categorized. Cars were with the legos, magnet tiles were thrown in with puzzle pieces… I think you get the picture.

For a select few, organizing is like meditation. It comes easily and seems effortless. For others, it may be a tedious chore. In my friend’s case, they have full-time jobs with 2 kids and like to travel frequently. No wonder their storage solutions needed a facelift. Whether you love organizing or hate it, my next tip is this:

Enlist the help of others!

Find a friend, partner, even child willing to help and turn on some music, maybe some trashy T.V, and grab yourselves a drink! You’ll find that this person can do more than keep you company. They may have a different perspective on the task at hand and can probably offer up some new ways of getting your life together.

This doesn’t only apply to cabinet organization, but life in general! Maybe you need to figure out a new weekly routine for school pick-ups, a way to balance your new job schedule, or where your new coffee machine would look best. Either way, it does not have to be a painful process and it can’t hurt to ask someone for help!

Drop me a line below and let me know who your favorite helper is. Or, if you want to enlist my help (I’ll even bring the wine!). If you’re ready to get to organizing, below are some of my must-haves for any task management session.

  • Smart speaker: You’ll have your hands full so being able to tell your TV to turn on or what music to play is key! You can even ask it for a joke to pick you up OR to add another bin to your shopping list if you need just one more.
  • Your favorite playlist: Mine is called Deep Focus. It’s a mostly instrumental playlist built and updated by Spotify.
  • Wine! And some wine glass charms so you don’t mix yours up with your helper’s. These were gifted to me by the same adorable friend who motivated this post.

Finding a Home

If this wasn’t your home, would you be able to figure out where everything was?

My mom came to help me with the house after I gave birth to our second child. Being that she lives across the country, we don’t see each other as often as we’d like but we always make the most of it when we do. Our homes are also constantly changing during the time we’ve spent apart.

If you know her, I’m sure you can imagine that she is amazing to have around during a major life change. My mom is terrific with kids, is the best cook in the world, and has this calm demeanor that I’ve always aspired to emulate.

One day, while she was being super mom in the kitchen, she looked at me and said “Rox, your kitchen is so easy to navigate. Everything makes sense.” I felt this wave of pride come over me. Why? Because I’ve never really looked at myself as an extremely organized person BUT for someone to feel just as at-home in your kitchen as you, yourself, does… Well, that is something to be proud of.

This brings me to my tip of the day:

Before you make a purchase, think ahead of where it’s home will be. Find a home!

I’m sure you’re thinking “OK, but what about gifts?” There’s an easy solution for this. Keep cabinets coordinated by category so you can immediately add your newest addition to your home.

Tips for smarter smaller kitchens:

  • Maximize space by mounting kitchenware.
  • Use expandable drawer organizers.
  • Place measuring cups in a drawer/cabinet closest to your prep area.
  • Place pots and pans near the oven.

Tips for smarter larger kitchens:

  • Do not force yourself to use all available cabinets. If budget allows, consider converting cabinets into beautiful and fresh open shelving.
  • Keep items off your counter and take advantage of extra drawer space. These spice drawer organizers are a must have!

What are your favorite ways to stay organized in your kitchen? Drop me a note below!

Hello

Welcome to Keep the Chic!

My name is Roxana Hetzel and I love all things fashion, organization, and parenting. I’m 30(ish) living in Southern California with my husband, 2 not-babies-anymore babies, and 2 pups and I get that there is more to our lives as a Stay at Home Mom than putting toys away or washing dishes.

Hopefully, after visiting my page, you leave with some very simple tips and tricks to create more balance in your life and looking stylish doing it. Whether it be packing for a trip, cleaning out your fridge, or essentials for your home… I will keep it chic through and through.